Pages

Sunday, July 31, 2022

A Best Friend - Two Ways


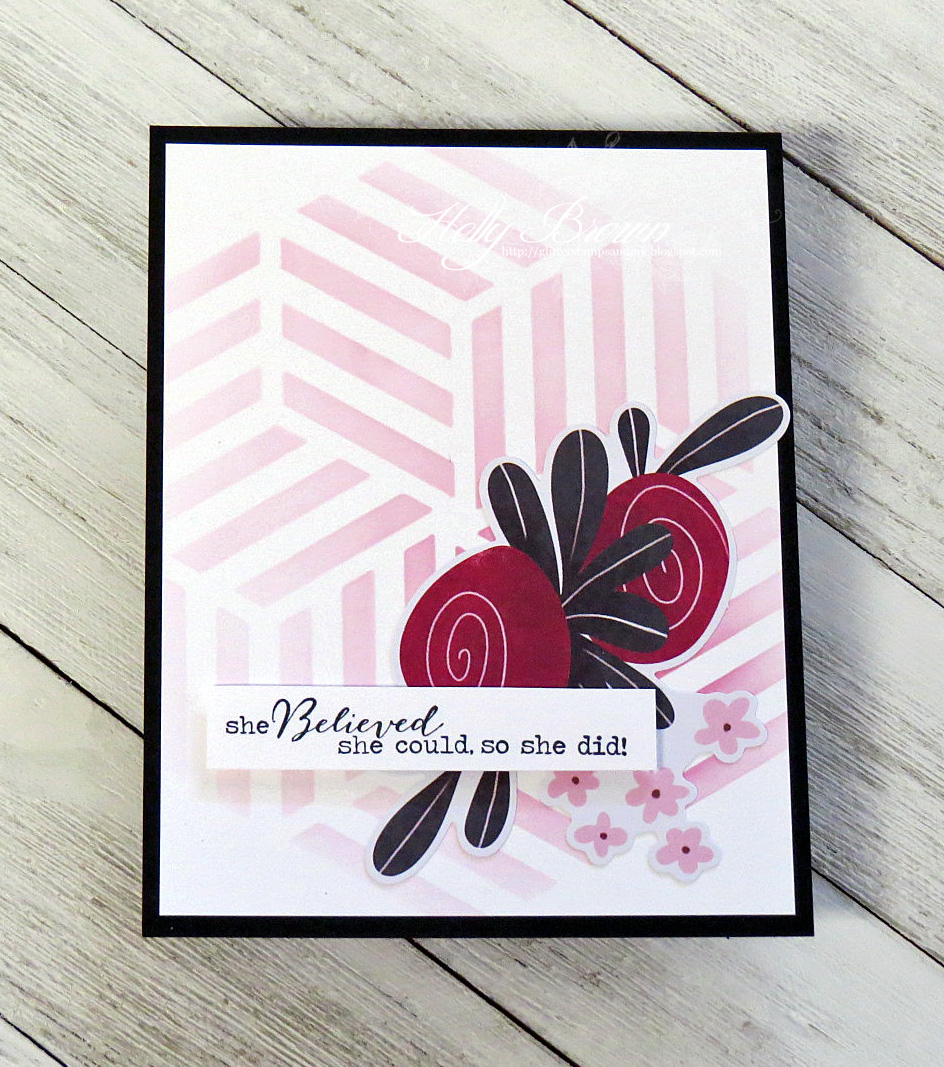
I love this stamp from Technique Junkies called A Best Friend.  This is a single stamp so the flower and the sentiment are together as one stamp.  I inked this up with a permanent black ink and stamped it on white cardstock and let it dry.  Then I colored the flowers with Copic markers and brushed the edges of the white cardstock with some soft brown ink.  

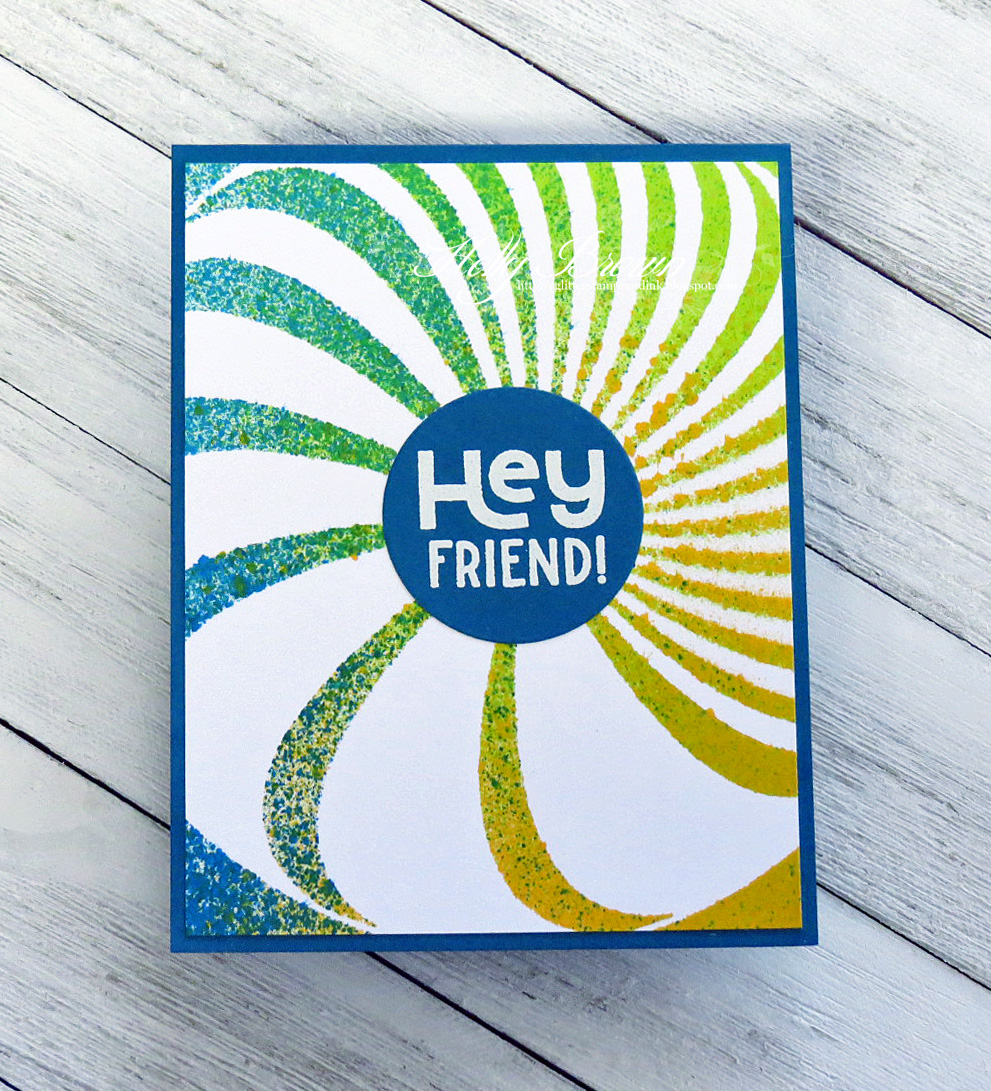
If you wanted to try something different, mask off the words and stamp the flower by itself.  Then clean the stamp, mask off the flower, and stamp the words over the previously stamped flower.  That's what I did on this blue floral card below.  


If you're really brave, you could cut the two images apart, but I'm not that brave.  LOL!  By masking off one side or the other, I can retain the original stamp but have the flexibility to just stamp the flowers  or the sentiment.  I think I might need to buy another A Best Friend stamp just so I can cut it apart.  :-)

Please feel free to use this code, TJ10Holly, to save when you shop at Technique Junkies.  Be sure to check out all the gorgeous Shimmering Bliss sprays, the Catherine Pooler ink pads, and the huge selection of stencils along with the fabulous Technique Junkies stamps.  Happy shopping!


Friday, July 29, 2022

She Believed She Could


Happy Friday!  I'm popping in with this fun card that I created with the Striped Hexagon stencil from A Colorful Life Designs.  I placed this Striped Hexagon stencil over some white cardstock and lightly brushed a cranberry ink all over, letting the color fade out toward the edges.  Then I added some floral ephemera and I stamped this sentiment with black ink and adhered it with foam tape.

You don't have to make a bee themed card with every hexagon background.  As you can see with my card today, this Striped Hexagon creates a beautiful background for any kind of card.  Please feel free to use this code, HollyFan10, to save 10% off this Striped Hexagon stencil as well as all the other stencils from A Colorful Life Designs.  Happy Shopping!


Thursday, July 28, 2022

Whirly Smile


Good morning!  Here's a fresh floral card to put a smile on your face today.  

I started by smooshing some blue and green inks onto my glass mat and I misted those with water before pressing some watercolor paper over the inks.  After this paper dried, I placed the Whirl Around stencil from A Colorful Life Designs on top and then brushed the same blue and green inks over the stencil.  This just adds a deeper shade of color inside the stencil "holes" while still coordinating with the underlying background color on the paper.  I love that wispy watercolored look of this background.  I added some floral ephemera and stamped the sentiment with black ink.

Please feel free to use this code, HollyFan10, when you shop for stencils at A Colorful Life Designs.  You'll save 10% off your order, so stock up on this pretty Whirl Around stencil and all the other stencils that have caught your eye this month.  You can see all of this month's stencils HERE.  Have a great day!


Tuesday, July 26, 2022

Hey Friend and Dino-Mite


I used the fun new Uneven Rotation stencil from A Colorful Life Designs to create these two quick and easy cards.  I placed the Uneven Rotation stencil on some white cardstock and sprayed some Dylusions sprays over that.  While the stencil was still wet, I took another piece of white cardstock and pressed it to the wet stencil.  That's how I got the reverse print on the second card below.


Don't you just love it when you can get two backgrounds from one technique?  Another bonus is that no two cards will be alike.  Every time you spray it will be different.

You can get this cool Uneven Rotation stencil at A Colorful Life Designs.  If you use this code, HollyFan10, you'll save 10% off your order, so check out all the great stencils and fill up your shopping cart.  Have a wonderful day!


Monday, July 25, 2022

Happy Bee-day!


Good morning!  I hope you had a nice weekend.  It's hot and dry here, and the weatherman just said this is the hottest July on record.  We beat the 2011 average July temperature by a whole degree (was 102.8, this year is 103.8).  All the more reason to stay inside with the a/c and make cards!

I had so much fun making this shaker card.  Last month, A Colorful Life Designs collaborated with Doodles Paper Playground and they sent us some sequins to play with.  I had a little bit left over from one of the packages, and I used that on this card.  

I started by placing the awesome Striped Hexagon stencil from A Colorful Life Designs onto some honey-colored cardstock.  I used a darker honey ink to brush some color through the stencil, and then I used a hexagon die to cut out a small hole.  I added a piece of acetate on the back of the stenciled piece and then added foam tape all around the hexagon hole.  I carefully sprinkled some of the Bee-You-Tiful Sparkle Blends into the shaker area and then adhered this to a white card base.  The cute little bee and the sentiment were stamped, cut, colored, and glued to the front of the card.  I used some of the same sequins and glued them around the front of the card.  You can see the adorable little clay bee next to the sentiment.   (BTW - I just saw that this sparkle blend is 40% off right now!!!)

If you'd like to save some money on stencils, please feel free to use this code, HollyFan10, when you shop at A Colorful Life Designs.  You can find this Striped Hexagon stencil as well as hundreds of other great stencils in the store.  Happy Monday!


Saturday, July 23, 2022

Rainbow Striped Birthday Wishes


Good morning!!  Today I'm sharing this fun rainbow birthday card with y'all.  If you've been playing in the Dare to Get Dirty challenges this past week, one of the challenges yesterday (Lori's) was to create a rainbow card.  There's still some time to play in the challenges, so come join us!

I started by placing this Festive Stripes stencil from A Colorful Life Designs down onto some white cardstock.  I then used three colors of distress ink (raspberry, mustard, and salty ocean) and brushed the inks over the stencil.  Where the inks blended together, you will see that they created the secondary colors of orange and green.  I used the blue distress ink to stamp the "birthday" and to brush onto the die-cut "wishes" from Pink and Main.  The last thing I did was add some iridescent diamonds to the rainbow stripes.

If you'd like to do a little shopping, please feel free to use this code, HollyFan10, to save 10% at A Colorful Life Designs.  You can get this Festive Stripes stencil and many more for your crafting needs.  Enjoy your weekend!!


Friday, July 22, 2022

Surrender to the Calm


Good morning!  I have a clean and simple card to share with you today.  Have you been playing along with the Dare to Get Dirty challenges this week?  You can see the challenges HERE.  Today is the last day of challenges, and this card is for Lydia's challenge to have zero texture and no layers on our cards. 

I cut some white cardstock to 4.25"x11 and folded it in half to create an A2 card.  Then I placed the Waffle Fry stencil from A Colorful Life Designs over the card and brushed some raspberry and peacock distress inks over the stencil.  I lightly blended the two colors together where they meet in the middle.  After I removed the stencil, I stamped the sentiment from Picket Fence Studios with peacock distress ink.  Clean, simple, zero textures, zero layers.

If you'd like to grab some fun new stencils, please feel free to use this code, HollyFan10, when you shop at A Colorful Life Designs.  You can get this Waffle Fry stencil as well as all kinds of Christmas stencils and hundreds of other designs.  Happy Friday!


Thursday, July 21, 2022

Daisies on Strips


I'm back with this fun card for my dear friend Shelly's Dare to Get Dirty challenge.  The Dare to Get Dirty challenges are open to everyone this year in honor of their 15th anniversary over on SCS.  You can see all the fun challenges HERE, and I hope you play along with us!

Shelly wants to see strips of paper on our projects, so I cut four different colors of cardstock and arranged them diagonally for my background.  Then I placed the pretty Flower Mist stencil from A Colorful Life Designs over these strips and applied some Versamark through the stencil.  I carefully removed the stencil and covered the paper with white embossing powder.  I tapped off the excess powder and then melted the powder with a heat tool.  The sentiment from Taylored Expressions was stamped with green ink and adhered with foam tape.

I love how this Flower Mist really pops off the different colors of paper strips.  If you'd like to go shopping, please feel free to use this code, HollyFan10, to save 10% off your order at A Colorful Life Designs.  Have a wonderful day!


Wednesday, July 20, 2022

Fabulous Daisy Butterfly


Good morning!  My sweet friend Yoorah is hosting one of the Dare to Get Dirty challenges on SCS today, and she wants to see winged creatures on our projects.  You can check out the Dare To Get Dirty challenges HERE, and I hope you play along with us!  I made this fun Daisy Butterfly with some stencils from A Colorful Life Designs.

I started by placing the Marvelous Masks Butterfly stencil down on some white cardstock and I lightly brushed some soft blue ink over the whole stencil.  Then I removed that stencil and arranged the cute little Daisy Trio stencil so that I could ink up the largest daisies inside the upper wings and the smaller daisies in the lower wings.  It turned out even cuter than I thought it would!

I stamped the sentiment from Hero Arts with black ink in the center of the butterfly and added some pearls to the flower centers.  If you'd like to shop for some stencils, please feel free to use this code, HollyFan10, to save 10% at A Colorful Life Designs.  I'll be back tomorrow with another fun card using the pretty Flower Mist stencil.  Have a great day!


Tuesday, July 19, 2022

If You Believe


Good morning!  Today I'm sharing one of the cards that I created for one of this week's Dare to Get Dirty challenges.  This is a fun week of challenges for everyone to play in so go check them out HERE.  

For Kim's challenge, we are to incorporate metallic things on our card.  This can be anything such as metallic embossing powder, metal brads or clips, or foiling with metallic foils.  I decided to try a couple of different mediums.  

I started by pulling out this gorgeous Gothic Swirl stencil from A Colorful Life Designs.  This is a very intricate stencil, so I thought it might be easier to use it with a gel press plate.  After I placed this stencil on my gel press, I dabbed some metallic Pan Pastels all over the gel press.  I carefully lifted up the stencil, brayered some black paint over the gel press, and pulled the print.  Then I set this aside to dry completely before I moved on with my card.

The sentiment from Visible Image is stamped with Versamark and embossed with gold embossing powder.  I used that same gold powder on the cardstock layer behind the stenciled print.  This is my little cheat for when I want some metallic cardstock that matches my embossed images/sentiments.

Please feel free to use this code, HollyFan10, if you'd like to shop for stencils at A Colorful Life Designs.  You'll save 10% off your entire order so have fun!

Sunday, July 17, 2022

Drifting in a Rowboat


Good morning!  Today I'm sharing this sweet scenic card that I created with Technique Junkies stamps.  I stamped the At The River with a black dye ink and then colored it with Copic markers.  The sentiment, from the My Dear Friend set, is stamped with black ink at the bottom.

I love this sweet little scene.  Those flowers really pop against the pale blue of the river and those sweet cattails breaking out of the circle just captured my heart.  Can you just see yourself sitting in that little rowboat drifting along, enjoying the peace and quiet?

Please feel free to use this code, TJ10Holly, when you shop at Technique Junkies.  You can save money on your stamps, stencils, and Shimmering Bliss when you use the code at checkout.  Have a wonderful day!


Saturday, July 16, 2022

Glitzy Hello and Dare to Get Dirty


Good morning!  Today is the first day of Dare to Get Dirty, and there is a whole week of fun challenges ahead.  This year they are celebrating their 15th anniversary, and as a special treat, all the DTGD 2022 challenges are open to everyone on Splitcoaststampers.  I hope you check it out and play along with us!

My card today is for Lori's challenge to use gel press prints and cut em up and glue them to your card.  I used several colors of paint on my gel press and pulled some prints and let them dry.  Then I placed the Petal Drop stencil from A Colorful Life Designs over one of the prints and spread some Fall Gold Paper Glitz (Picket Fence Studios) over that.  After I removed the stencil, I set the piece aside to dry.  

While I still had that glittery medium out, I spread some onto some scrap white cardstock and let that dry.  Then I die cut the "hello" from this super glittery gold cardstock and glued it to the die cut white shadow.  After my stenciled piece dried, I cut one small strip from that and adhered it to some kraft cardstock.  Then I glued the sentiment near the bottom of the card.

If you'd like to shop for stencils, please feel free to use this code, HollyFan10, to save 10% at A Colorful Life Designs.  There's tons of great stencils to choose from!  Have a great weekend!  

Thursday, July 14, 2022

Cow's It Going?


Good morning!  Happy Thursday!

Today I'm sharing this cute card that I created with a stencil from A Colorful Life Designs.  I started with a green card base, and I placed the Even Pairings stencil down and brushed some green ink over the stencil.  These green rows reminded me of the freshly mowed grass that you see on baseball fields and out here in the country.  I added the fun die cuts from Doodlebug Designs for a quick and easy card.

Please feel free to use this code, HollyFan10, when you shop for stencils at A Colorful Life Designs.  You will save 10% off your order, so stock up on those must-have stencils.  Don't forget to check out the Christmas stencils HERE - the holidays always have a way of sneaking up on us.  LOL  Have a wonderful day!


Tuesday, July 12, 2022

Glittery Wildflower Birthday


Good morning!  Are you ready for some bright summer colors?  LOL  Put your shades on and check out the card I made for the latest Power Poppy challenge.  This time they are challenging us to use our stamps that have glass images in them, so I printed out this Wildflower Mini digi and colored it with Copic markers.  The sentiment is stamped the old fashioned way with a clear stamp from the Party Time set (just saw that it is sold out).  I couldn't resist adding some of my favorite Star Dust Stickles to some of the flowers and berries.  I love that sparkle!

If you have some Power Poppy stamps (clear or digital), check out their Glassy-Eyed challenge and play along.  It's really fun to have this "excuse" to play with my Power Poppy stamps.  It keeps me inside with the a/c in these ridiculously hot temperatures (107 today).  I hope you have a wonderful day.


Sunday, July 10, 2022

Musical Field Beauty


Good morning!  Today's card has a bit of a vintage vibe with some distressing and a little shimmer.  I started by stamping the gorgeous Field Flowers from Technique Junkies onto some white cardstock.  Then I pulled out the Vintage Music background stamp (also Technique Junkies) and very lightly pressed over the flowers.  I didn't want a full impression of the music - just a very distressed uneven hint of it.

Once I was sure the black ink was completely dry, I pulled out some Shimmering Bliss sprays.  I shook up the Lapis Lazuli and Mardi Gras Purple Shimmering Bliss bottles and sprayed some onto my glass mat.  I misted the colors with a little bit of water and then pressed my stamped paper into the puddles.  I repeated this until I got the coverage I wanted and then set the paper aside to dry.

To create the matching ribbon, I cut a length of seam binding and crumpled it up into my hand.  Then I pressed this seam binding into the pool of color that was left over on my glass mat.  After I got the entire piece of seam binding colored, I crumpled it up again in my hands and left it alone to dry.

While my stamped panel and my ribbon were drying, I stamped the sentiment, Its Own Beauty, with black ink onto a small strip of white cardstock.  When the stamped panel was completely dry, I distressed the edges with a distress tool and adhered it to a black card base.  I tied the dyed seam binding around the top of the card and adhered the sentiment with some foam tape near the bottom.

This card has a beautiful soft shimmer that you can see when you move it around in the light.  There's also a subtle trace of that shimmer in the seam binding.  It's fun to have some shimmery goodness mixed with a distressed, vintage-y piece.  It's part of that shabby chic charm.  

Please feel free to use this code, TJ10Holly, when you shop at Technique Junkies.  You can find tons of gorgeous stamps, stencils, Shimmering Bliss, and ink pads for creating your works of art.  Have a wonderful day!


Wednesday, July 6, 2022

Geo Art - Part 2


Good morning!  Remember the Geo Art card I posted yesterday?  Well, I actually created two from that one spraying session.  On yesterday's card, I mentioned that I sprayed over the Geo Framework stencil with some Dylusions sprays.  While the stencil was still wet, I placed another piece of white cardstock right on top and rubbed it to capture all of that color from the sprays.  To my delight, it also captured the reverse image of the Geo Framework stencil perfectly!

After this piece dried, I flicked some black ink all over it.  Then I stamped the sentiment, also from Penny Black, and adhered this to a black card base.

Please feel free to use this code, HollyFan10, when you shop for stencils at A Colorful Life Designs.  If you haven't seen the new July stencils yet, you can see them HERE.  If you're in the mood for Christmas in July, you can check out all the Christmas stencils HERE.  Have a great day!


Tuesday, July 5, 2022

Geo Art


Good morning!  Have you seen the new stencils in the A Colorful Life Designs store this month?  This Geo Framework is one of those great new stencils, and it's so much fun!  

I placed this Geo Framework stencil over some white cardstock, and then I pulled out some Dylusions sprays and just let the colors fly.  I used a yellow spray, a lime green spray, and a yellow-orange spray and they all mixed together beautifully.  After the piece dried, I used a fine black Sharpie marker and just added random doodles here and there.  How fun is that?  The sentiment is from Penny Black.

Please feel free to use this code, HollyFan10, when you shop at A Colorful Life Designs.  You'll save 10% off your order.  Check out all the great new stencils for July HERE.  If you're getting started on your Christmas cards, check out the Christmas themed stencils HERE.  Happy shopping!


Sunday, July 3, 2022

Tropical Notecard Set


Good morning!  I've created a fun set of notecards with a tropical theme to share with you today.  I pulled out some bright colors of cardstock and cut and folded them to A2 size cards.  Then I pulled out the great new Tropical Corners stamp set from Technique Junkies and mixed and matched the corners so they were all different on each card.

For the sentiments, I used the My Dear Friend set (also from Technique Junkies).  On the two vertical cards (pink and green), I masked off part of the sentiments so I could stamp the other half slightly below the first half.  Then I added some fun sequins on all the cards for that extra sparkle.

These two sets, Tropical Corners and My Dear Friend, are 15% off through July 8 along with the other stamps in the July release.  The July release is HERE if you'd like to see all the great new stamps.  You can use my code, TJ10Holly, at any time when you shop at Technique Junkies.  Have a wonderful day!  


Saturday, July 2, 2022

Candyland cards


Good morning!!  I've got a couple of fun cards to share with y'all today.  Did you see the new stencil release from A Colorful Life Designs yesterday?  There's so many fun new designs to play with.  One of them is this new Candyland stencil - how cute is that?

I pulled out some Dylusions sprays and selected a yellow, a pale orangey-yellow, and an orange color for my projects.  This is actually a 2-for-1 project, because I can get two cards from one spraying session.  I placed the Candyland stencil over some white cardstock and sprayed the three colors all over it.  While the sprays were still wet, I carefully placed another piece of white cardstock right on top of what I had just sprayed.  I rubbed the paper all over to pick up as much of the ink as possible and then carefully pulled the paper and the stencil up.

The fun shaker card you see above is what I had placed on top of the sprayed stencil.  The card below is what was underneath the stencil.  You get two very different looks from the same spraying session.


The Candyland stencil is such a fun one to play with!  Please feel free to use this code, HollyFan10, when you shop at A Colorful Life Designs.  You'll save 10% off your entire order, so have fun shopping!


Friday, July 1, 2022

Warp Speed - new July stencils at A Colorful Life Designs


Good morning!  Today is the first of July, and that means there are new stencils for you to drool over at A Colorful Life Designs.  Believe me, there are some GREAT new stencils this month.  The first one I am showing you is the new Warp Speed stencil.  Isn't that COOL????  I love it!  I placed this Warp Speed stencil over some black cardstock and spread some glitter paste over the whole thing and set it aside to dry.

What enters your mind when you hear Warp Speed???  LOL  Star Trek, of course!!  I stamped this spaceship from Kindred Stamps and colored it, and then fussy cut it.  I placed this in the center of the stenciled background with some foam tape for that extra dimension.  I'm leaving the sentiment off for now until I decide if this will be a birthday card or something like a graduation card.  :-)

If you are like me and you gotta have it all, the Master Creator Bundle for July is only $81.48 for all of the new July stencils.  That's a fabulous deal!  You can see all the great stencils in the picture below.


Please feel free to use this code, HollyFan10, when you shop at A Colorful Life Designs.  You will save 10% off your entire order, not including the Master Creator Bundles because they are already discounted 20%.  You can still save by using the code on all the other stencils in the store.  Have fun shopping!  Come on back tomorrow and I'll share another fun stenciled project with you.


Technique Junkies July 2022 Release


Happy July 2022 Release Day!


We have new stamps in the Technique Junkies store today.  All of the July 2022 release stamps are 15% off through July 8.  No codes needed - just add the stamps to your cart and the discount will be applied at checkout.

You can save 10% off everything else in the store by using my code, TJ10Holly.  Stock up on some previously released stamps, Shimmering Bliss sprays, stencils, ink pads, and more.

This month has some gorgeous florals, some beachy stamps, and a wonderful sentiment set.  If you're like me and you "Gotta Have it All," here is a great deal for you.  You can get all of the July release stamps for just $81.13.  What a great price for all of these stamps!  Here's a little picture of all of the release stamps: 


For my first card today, I've created a fun ombre dandelion scene.  I used the new Blooming Dandelions stamp three times with different colors of ink (yellow, marigold, orange).  Then I stamped the beautiful sentiment from the My Dear Friend set across the top with black ink.  Some gold pearls complete the clean and simple look of this card.


For my second card, I stamped the beautiful new Field Flowers with dark brown ink directly onto a kraft card base.  The sentiment is the new Its Own Beauty.  These two stamps paired together are just gorgeous.


For my last card today, I used the awesome new Tropical Corners set.  This is a set of two stamps, and I used both of them stamped with a green ink on opposite corners of my card.  Then I blended some green ink in the corners, stopping at the edges of the tropical leaves.  

The sentiment from the My Dear Friend set is actually all on one line, so I masked off the "Day" so I could stamp the first two words in the white space.  I cleaned the stamp, masked off the first two words, and then stamped the "Day" underneath the first part of the sentiment.  It's a great way to make your sentiments fit into a certain space on your cards.


Looking for more inspiration?  Check out what the rest of the Design Team has created with these new release stamps:


Remember, you can use my code, TJ10Holly, to save 10% when you shop at Technique Junkies.  Have a wonderful day!